04 January, 2025
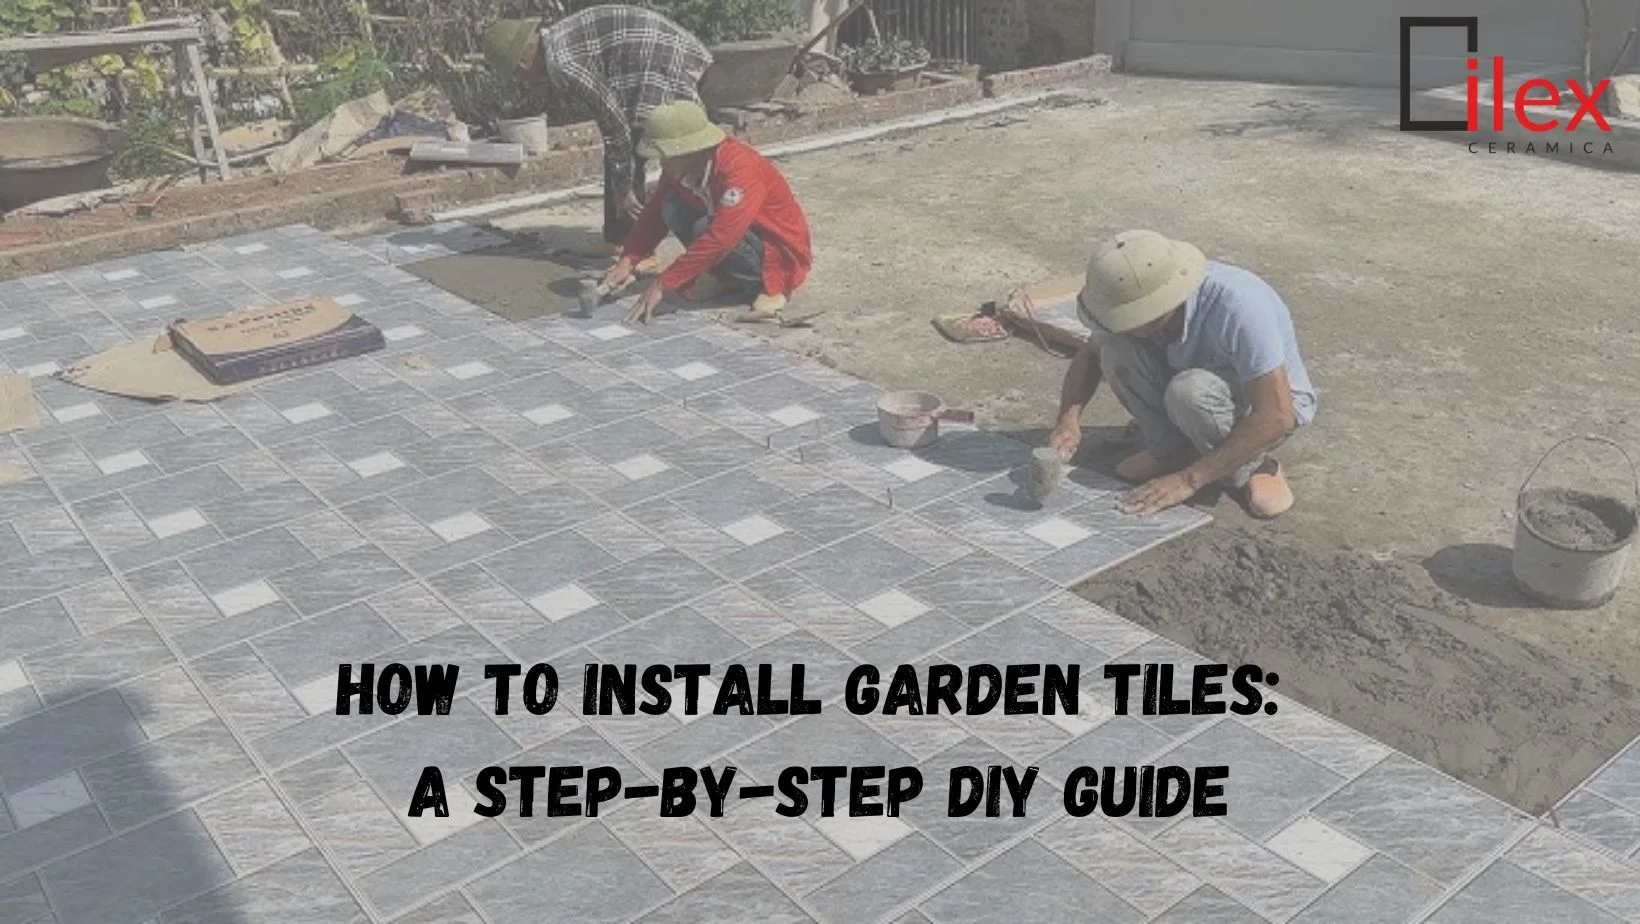
The garden tiles not only make your space look pleasant and beautiful but are also long-lasting and low maintenance. Regardless of whether you want to put in a patio, pathway, or esthetic garden zone, laying garden tiles presents the ideal way to change your outdoor space. This easy to follow, comprehensive guide will guide you on how to go about the whole installation process in order to achieve a sleek and professional look.
Why Choose Garden Tiles?
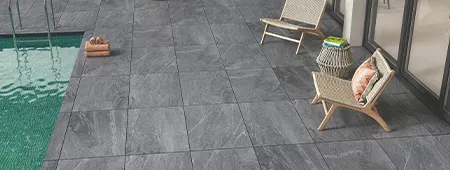
As you are ready to install garden tiles, you need to consider why these tiles are perfect for a garden. Garden tiles are made specifically for that environment so they are protected from the rains, the strong sun, or very cold weather. They are made from ceramic, porcelain and natural stone, therefore they are best suited for the creation of durable, easy to maintain surfaces that will complement the refined look of the garden.
Benefits of Garden Tiles:
• Durability: They are not affected by the elements, stain among other things such as fading.
• Easy to Clean: Tiles to the fact that they can only need to be washed occasionally.
• Variety of Designs: They are made in different colors, designs and sizes to enable people to make unique designs on their outside space.
• Slip Resistance: Most garden tiles especially the tiles that are to be used in wet areas are textured tile surface for the slip resistance factor.
Step 1: Choose the Right Tiles for Your Garden
Let’s start with the basic fact that selecting garden tiles is the most important decision in any construction project. Consider these factors:
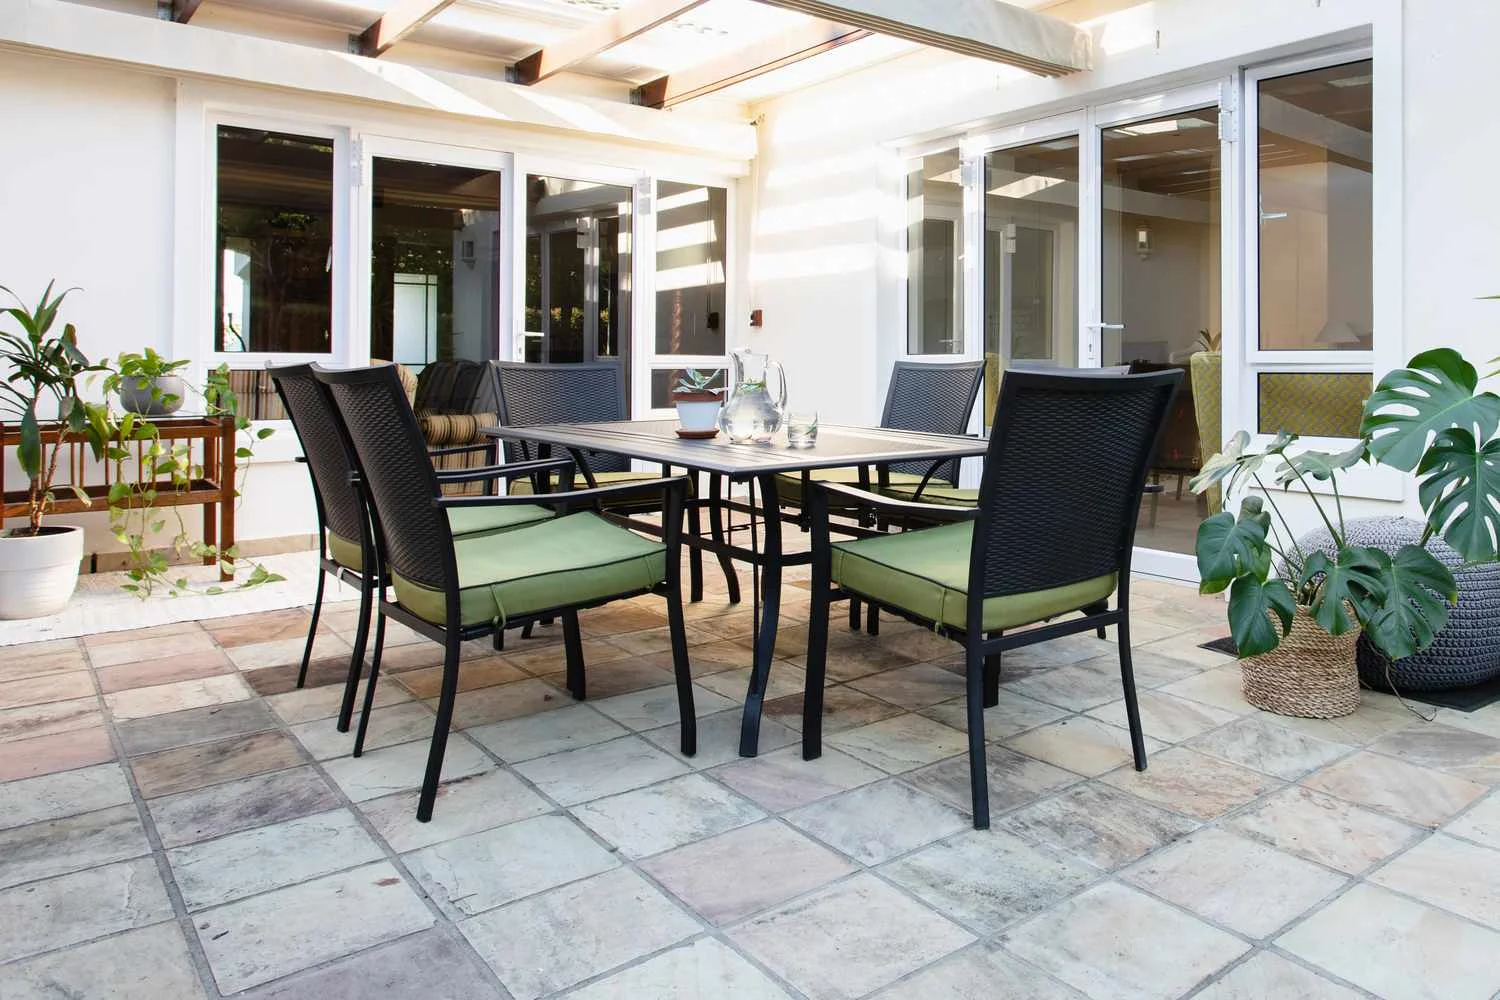
• Material: Some tiles are made from ceramic, porcelain, terracotta, natural stone and concrete which are mostly used in outdoor garden. Porcelain facial is strong and withstands water and is therefore ideal for outdoor use The outdoor tubs can be made from any of the porcelain facial material.
• Size & Shape: Moderately big tiles such as 60 x 60 cm or 30 x 60 cm will work well when giving the house a contemporary appearance whereas compact size such as 15 x 15 cm or 20 x 20 cm gives the room a good design.
• Style & Design: Tiles Whether you want a traditional or mediterranean or modern look for your garden, there is a design to suit its theme.
• Slip Resistance: This accessibility greatly decreases for slippery tiles in regions such as the walkways, and areas surrounding water bodies.
Step 2: Measure and Plan Your Layout
However, for you to achieve the best results when working on your garden tile installation, you should plan for it. Follow these steps:
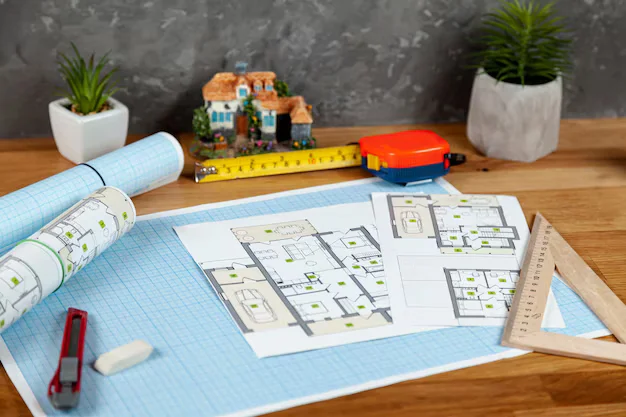
• Measure the Area: One of the primary tools to do this is measure the area that you want to tile using a tape measure. Take down the dimensions so that you are able to determine what number of tiles you will require.
• Dry Lay the Tiles: Before fixing adhesive overlay the tiles on the floor in your preferred arrangement. This makes it easy for you to manipulate the environment in a manner that will enable you to determine the way tiles interconnect in the carpet area.
• Consider Tile Spacing: To achieve a uniform gap between the tiles, tile spacers should be used with width ranging between 3mm to 5mm. It assists you in grout application and ensures that you give your tiles a professional look.
Step 3: Prepare the Surface
Substrate surface preparation is of great importance to ensure that the tiles bond well to the ground and that they will last longer. Follow these guidelines:
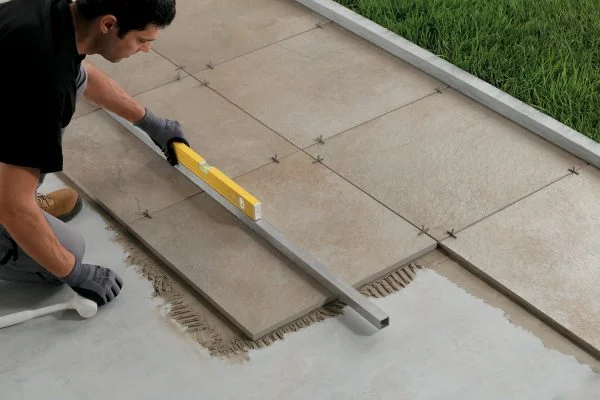
• Clean the Surface: Clean the surface which is substandard to dust, graffiti, any form of previous coating, etc. It is advised to sweep and wash this area.
• Level the Ground: Before laying tiles over soil or grass ensure that the surface is leveled. Rake the further soil and level it also to sweep big stones and rootstocks.
• Apply a Sand and Cement Base: For the large areas, a level base can be produced through a sand-cement combination. Pour the mixture, and then spread the area evenly and use a trowel to level it down.
Step 4: Apply Adhesive
To stick the above-said tiles to the surface, the appropriate kind of adhesive has to be used.
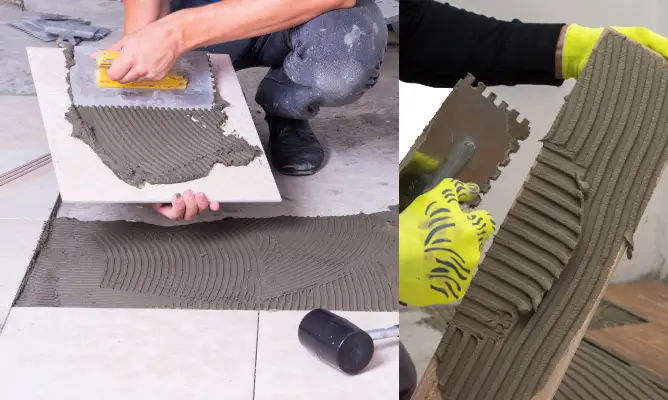
• Choose the Right Adhesive: Choose an exterior grade tile adhesive for your tile type and ground in your garden. If you are working with a concrete or gravel surface, choose a capable glue that is able to work with outdoor use.
• Mix the Adhesive: When applying the adhesive read and adhere to the manufacturer’s recommendations in terms of preparation and doing the application. He established that the consistency should be thick enough to lock the tiles in place, but workable enough.
• Spread the Adhesive: Take a notched trowel, put a thin layer of adhesive to the surface that is going to have the tile applied to it. Begin with a top-left or top-right corner and apply the adhesive in small squares and then join them together.
Step 5: Lay the Tiles
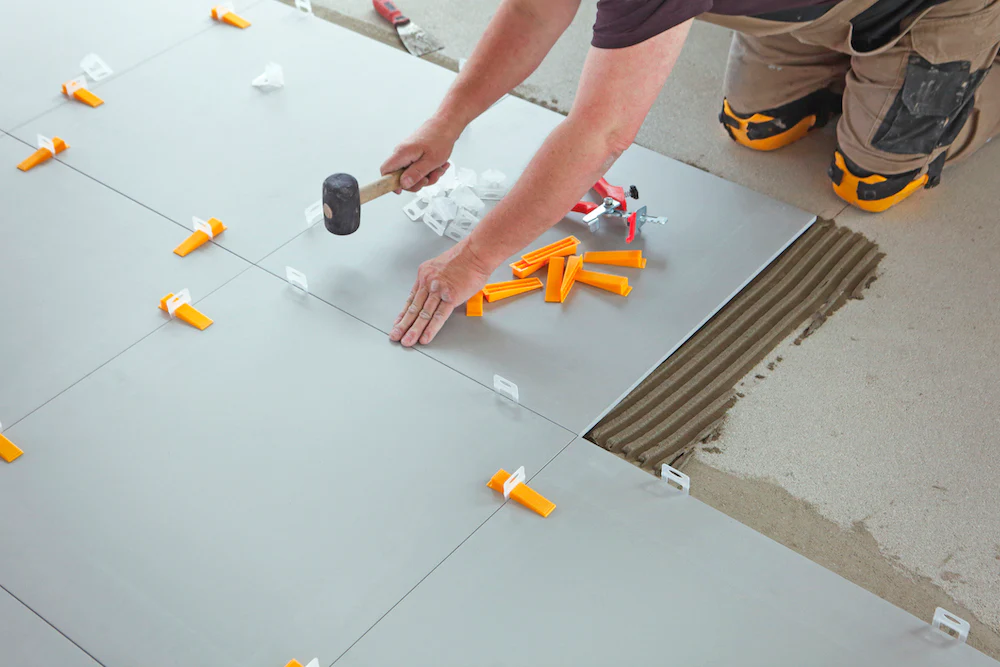
• Place the Tiles: Adhesive and ensure you press them well to the surface. You need to apply some pressure to help encourage the adhesive to set properly, and this requires a little twisting movement.
• Use Spacers: Put spacers in between a tile so that you will have an idea of how large the gaps you want between the tiles when applying the grout.
• Check Alignment: In this regard, you will use a spirit level in order to ensure that each tile is level. It is advisable to make these adjustments such that none is rendered uneven.
Step 6: Cutting Tiles (If Necessary)
Usually you have to use tiles in areas where they are close to other edges, corners or other structures like garden installations. Follow these tips for a clean, precise cut:
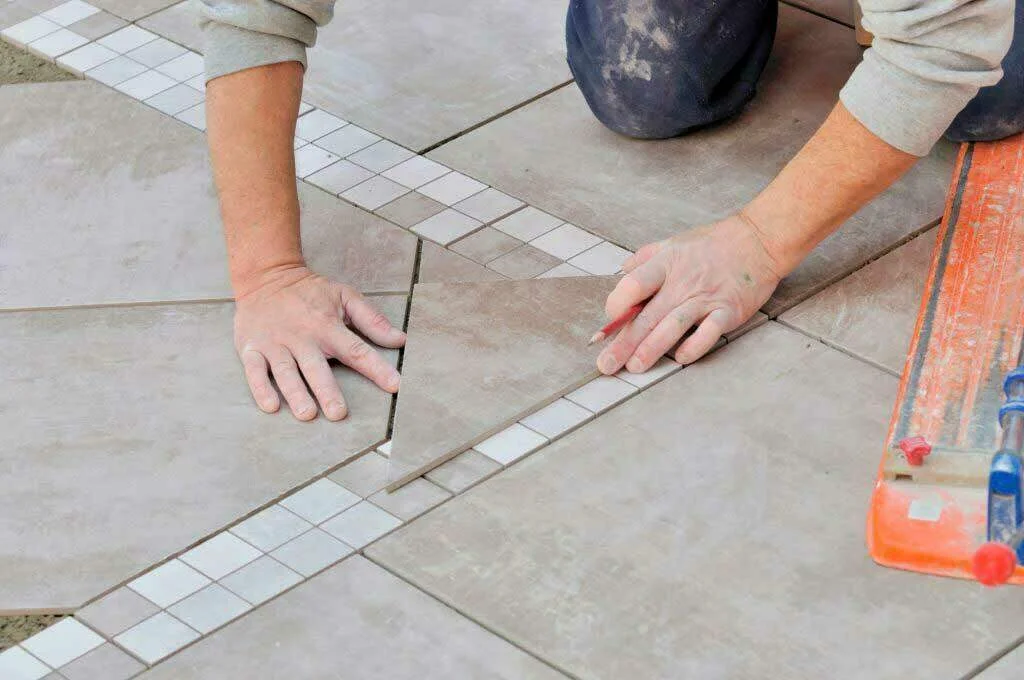
• Measure and Mark: Take some measurements of the area where the tiling has to be slit. Take a pencil and make a cutting line on the tile.
• Cut Using a Tile Cutter or Wet Saw: That is why, for straight cuts, it is optimal to use a manual tile cutter. When it comes to curvy edges or any other complicated patterns, then use of wet saw gives you a better finish.
Step 7: Apply Grout
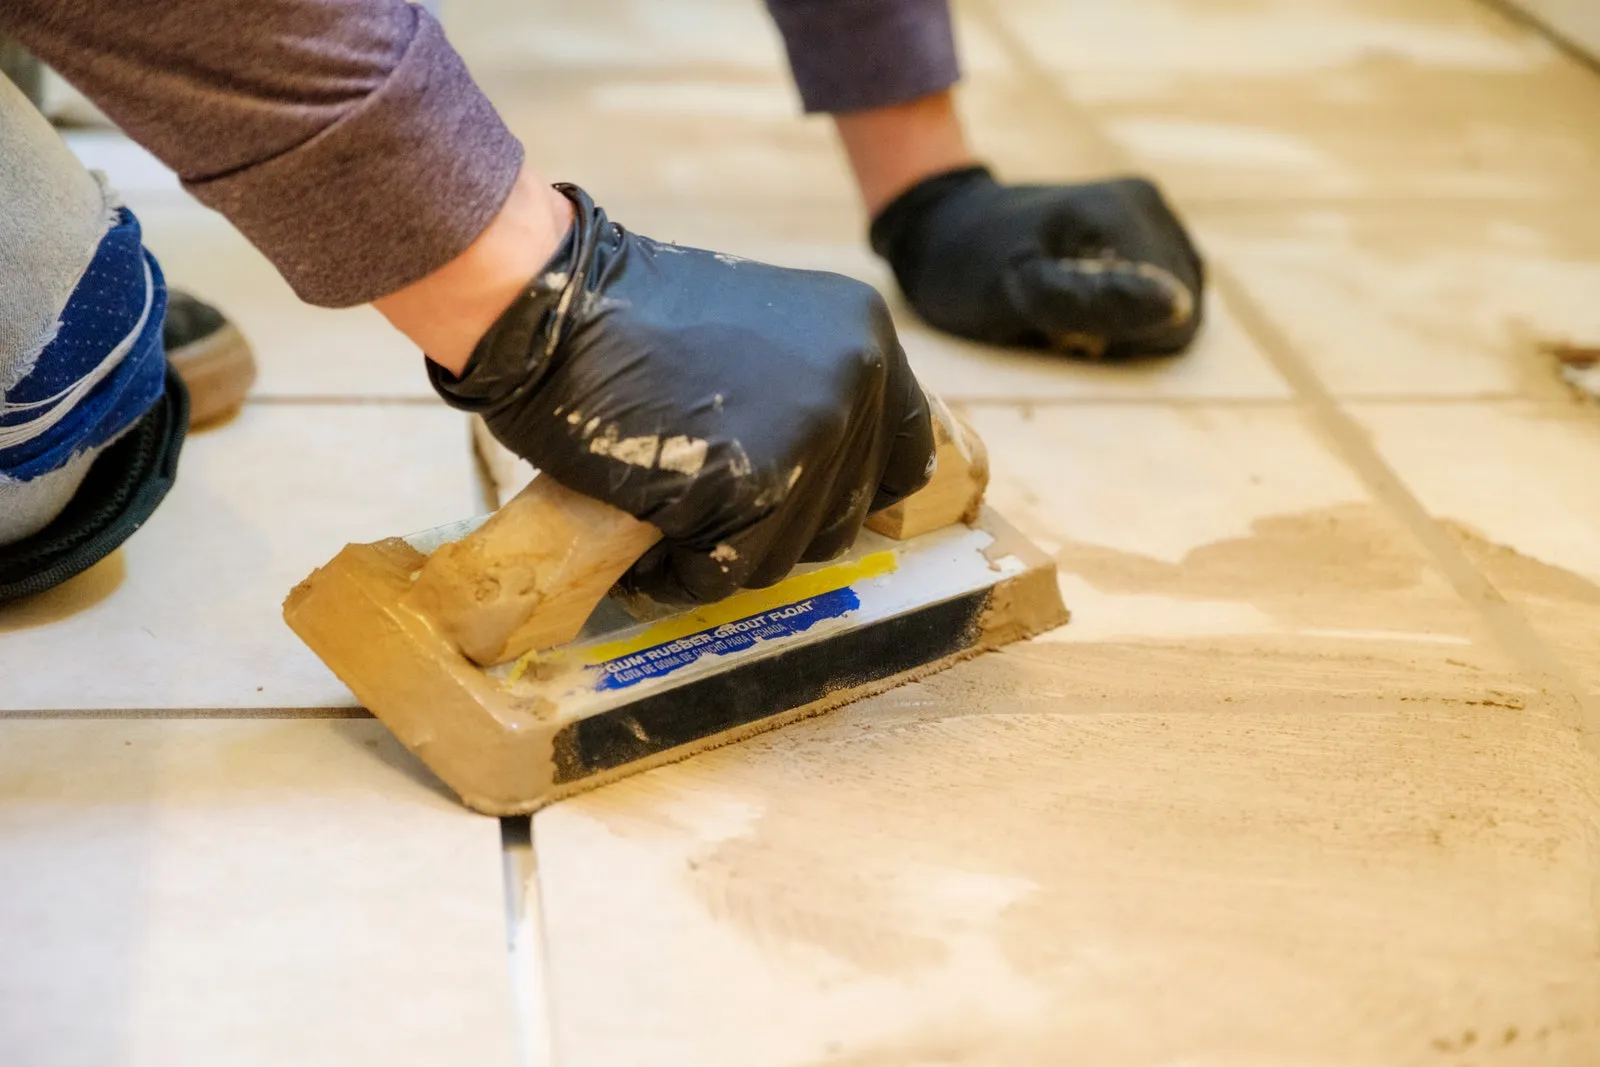
• Mix the Grout: Always apply the manufacturer’s instructions when using the grout so that it can have the right proportion when mixing with water. After that, use the grout float to spread the grout over the tiles and ensure they are flat on the ground.
• Fill the Gaps: Force a little the grout into the empty spaces between the tiles and ensure all chasms are stuffed optimally.
• Remove Excess Grout: Excess grout should be washed off by using a damp sponge from the surface of the tiles. There should be a little worry in jostling the grout that is in between the tiles.
Step 8: Seal the Tiles
To protect the tiles from moisture and stains, apply a sealant:
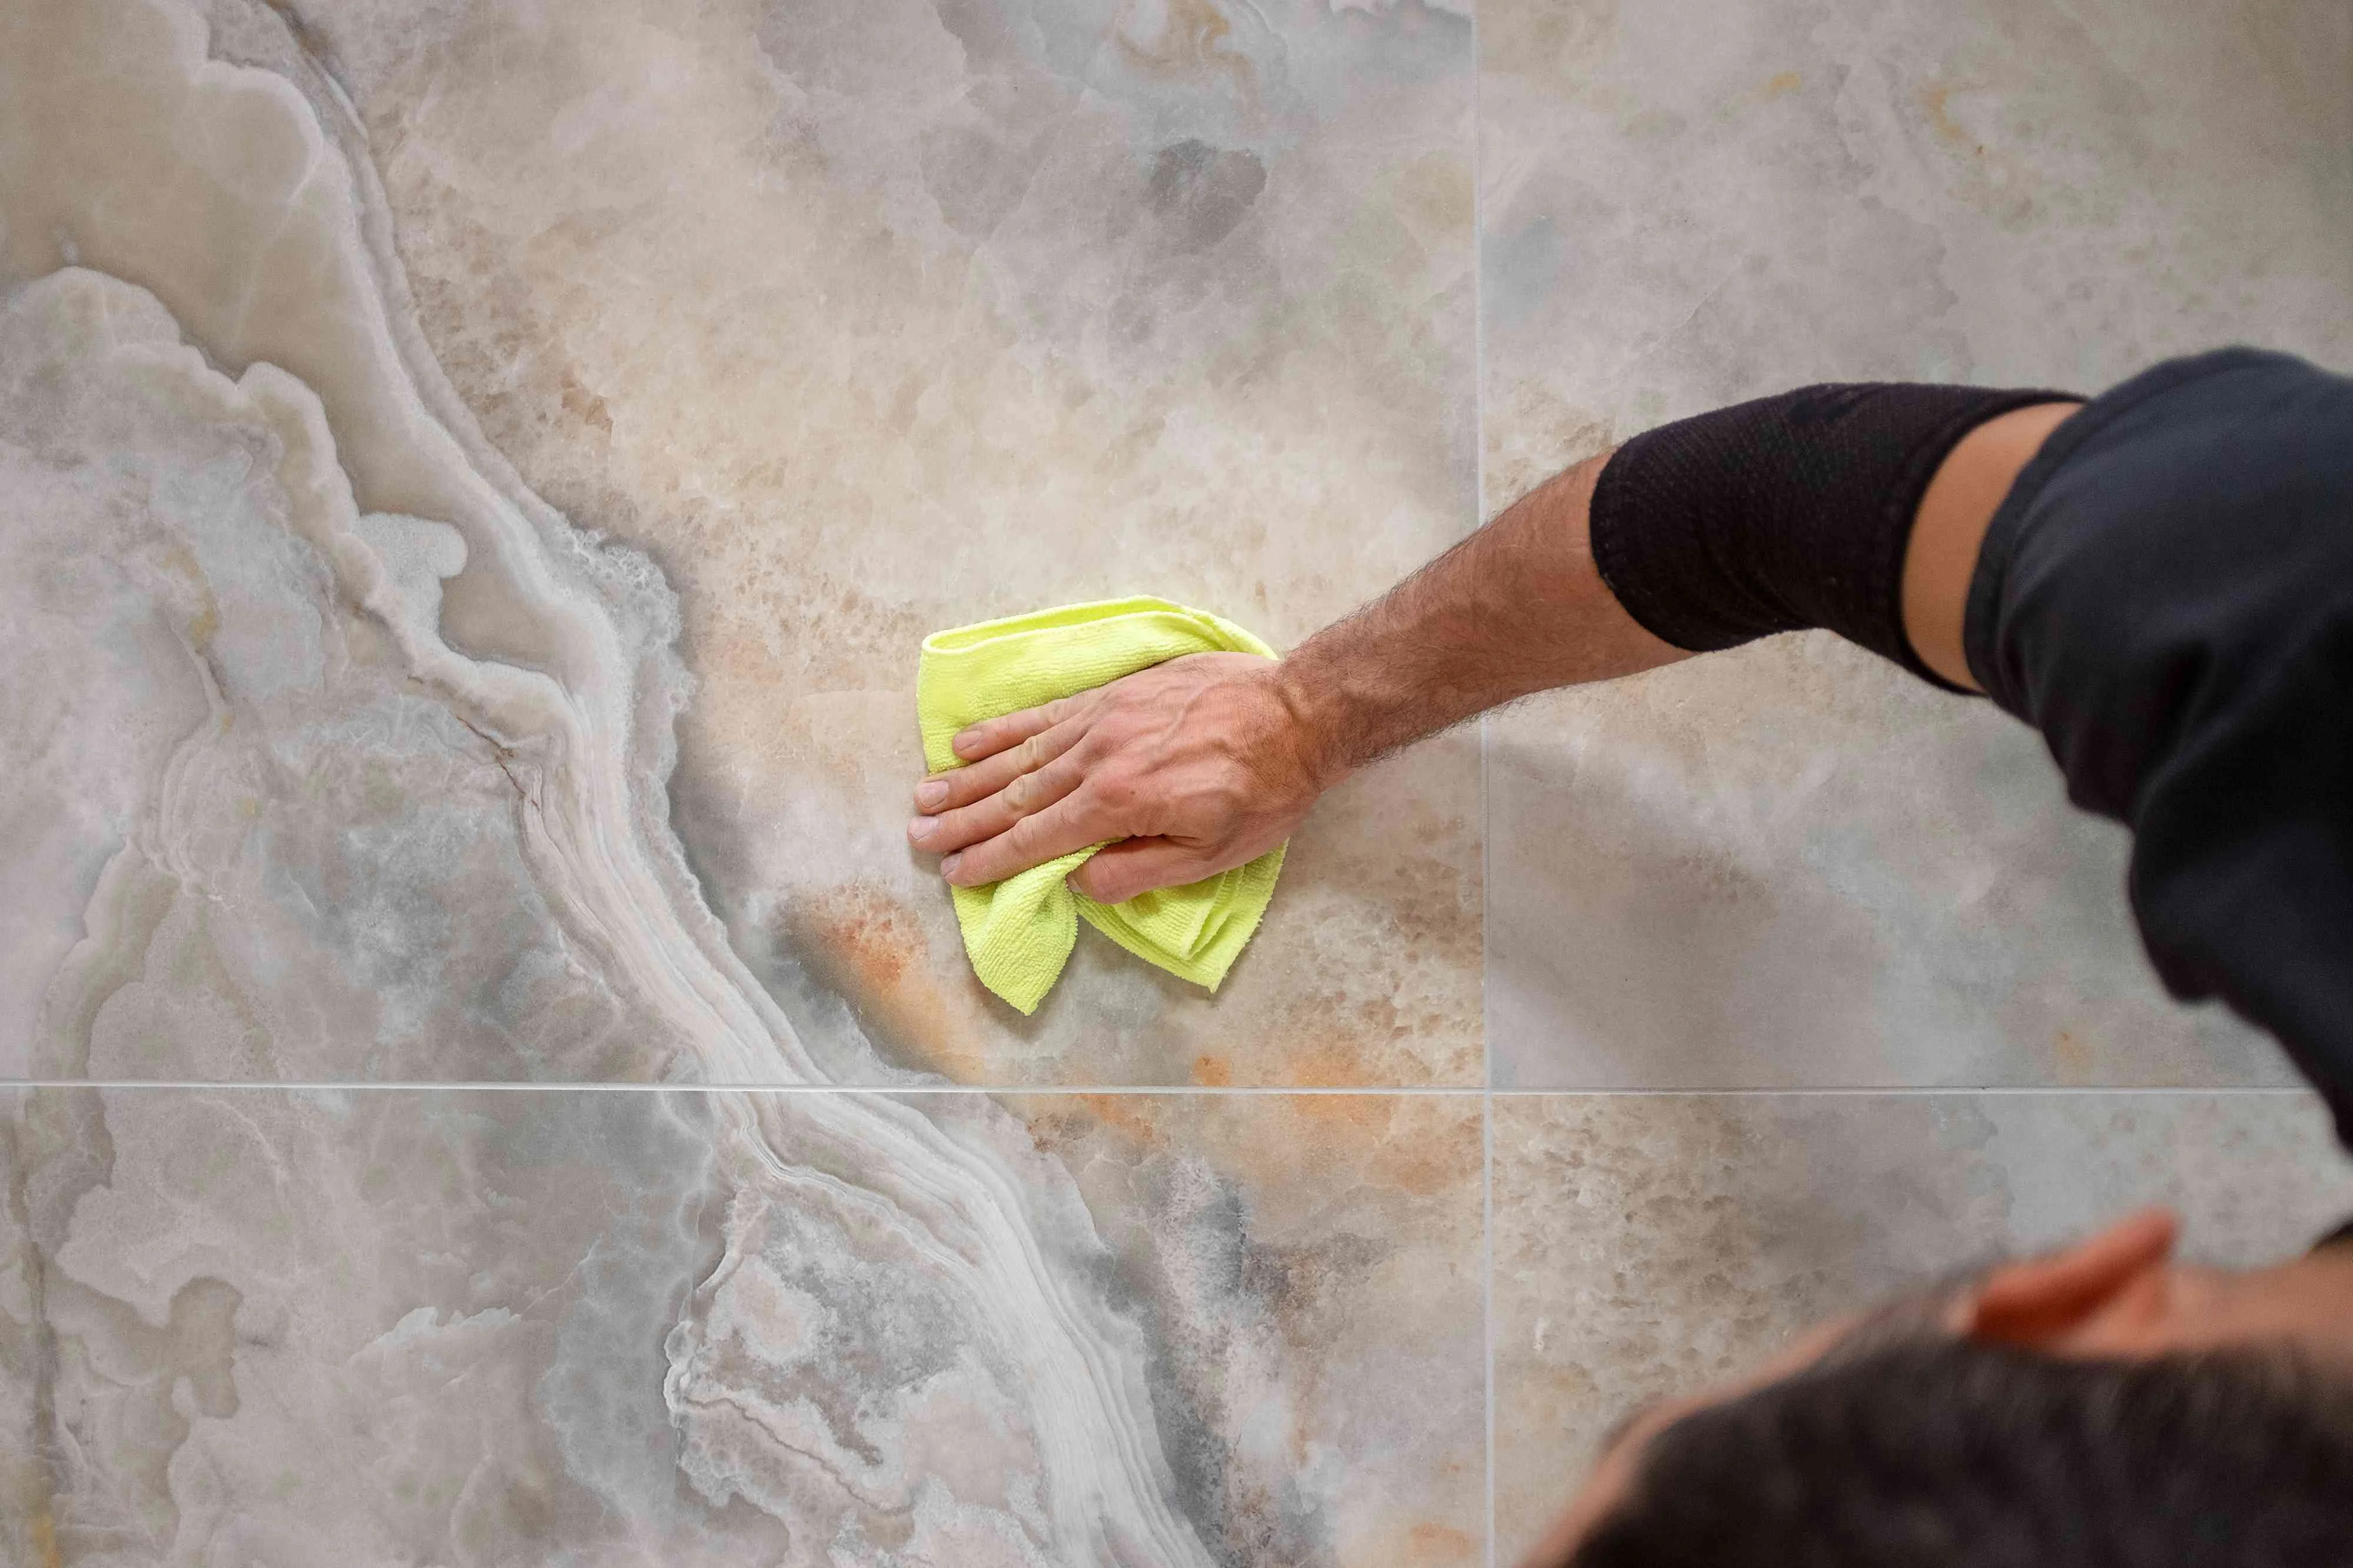
• Choose the Right Sealant: Choose an outdoor tile sealant that you need to be waterproof and guard from ultraviolet radiation.
• Apply the Sealant: The sealant should be applied by use of a soft cloth or sponge so that it is applied thinly on the surface of the tiles. It is also important that each layer should be allowed to dry before proceeding to the next one.
Step 9: Final Cleaning and Maintenance

• Clean the Surface: You should dry the tiles with a clean, damp cloth to eliminate the traces of grout or dust on your tiles.
• Maintain the Tiles: To maintain the appearance of your garden tiles then use warm water and a light detergent to periodically clean them. Do not use chemicals that may harm the surface of furniture.
Conclusion
Laying garden tiles might sound like a professional’s work, however, with proper equipment and materials and lots of determination, it might be a do-it-yourself job. Following the steps highlighted above, this guide is guaranteed to help you develop a great-looking outdoor area that complements the beautification of the compound. Although it may not cover everything marble contractors do there is always a guide that can help you make a professional-looking patio or pathway or any tiled design you must be desiring to achieve.
Make your garden a comfortable place to be in and use high-quality tiles that will serve you for years. Begin your garden tile designs now and start making the best out of your outdoor area landscaping in the next few years.


